Editing the guide & snapshots
In this video, we will explore the process of editing snapshots along with a step-by-step guide.
1
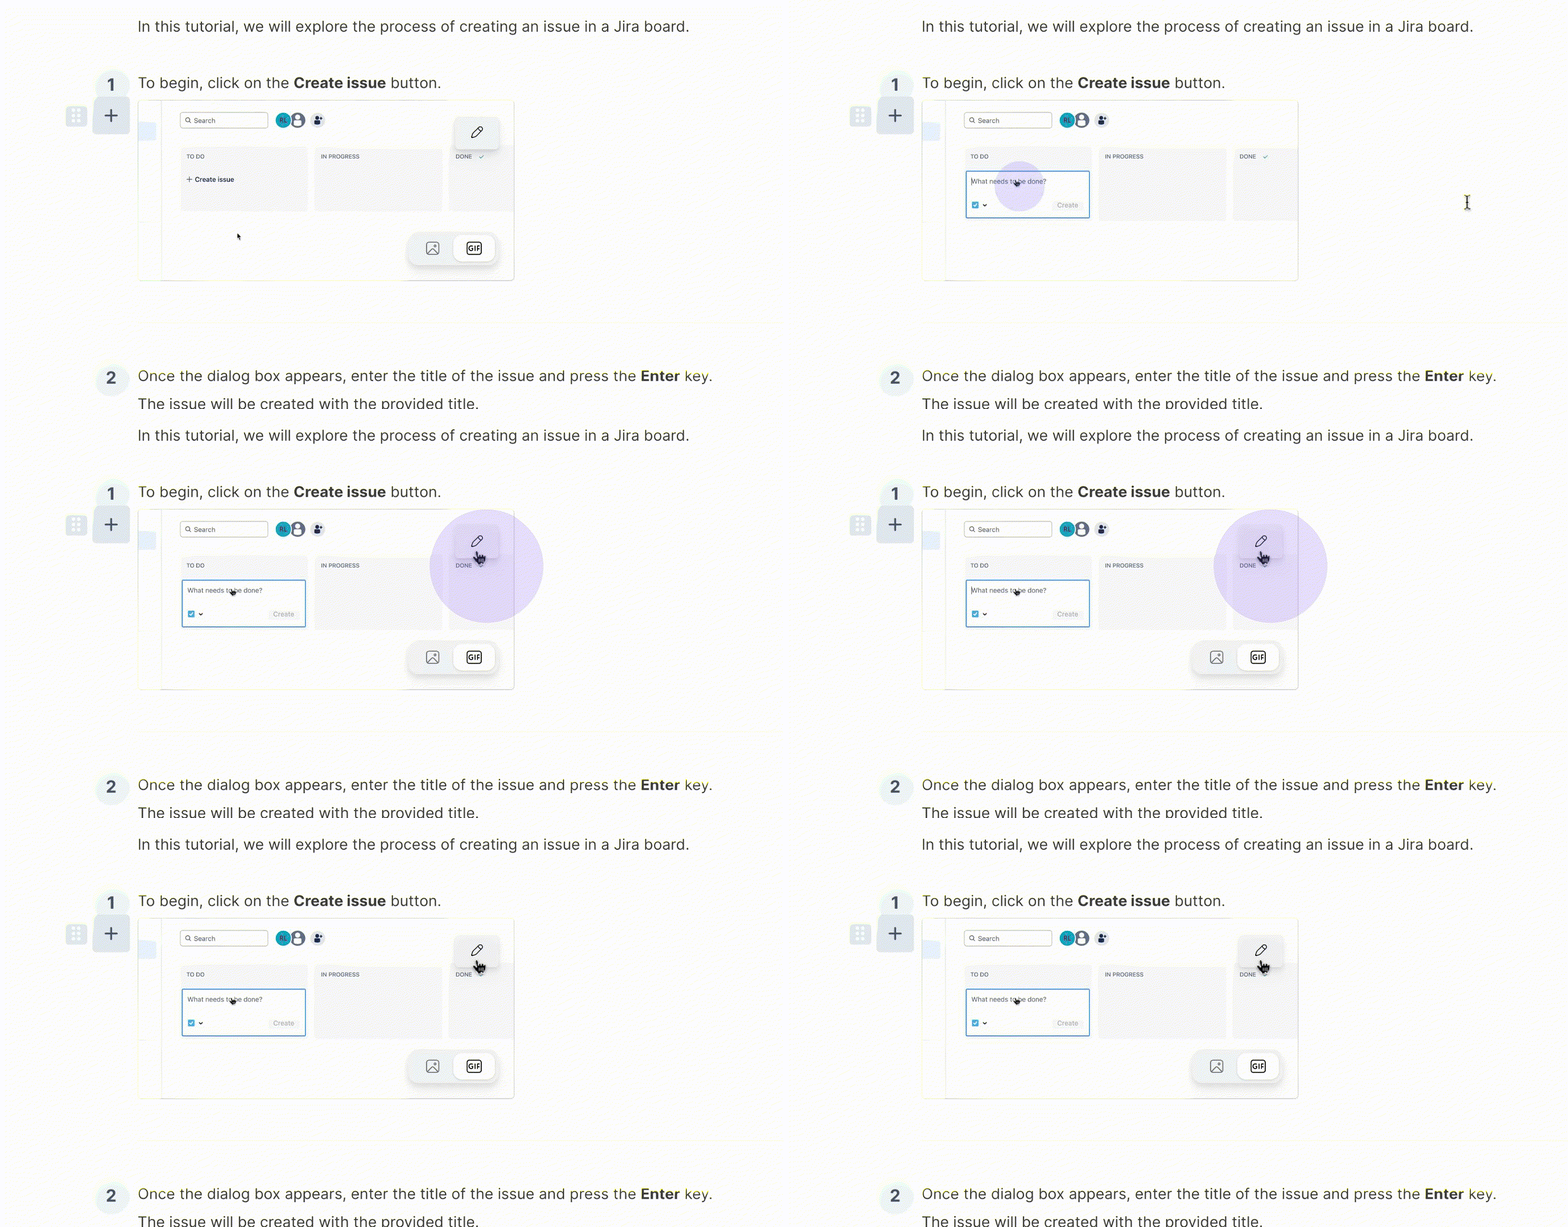
To begin editing a snapshot, simply click on the pencil icon located above the snapshot.
2
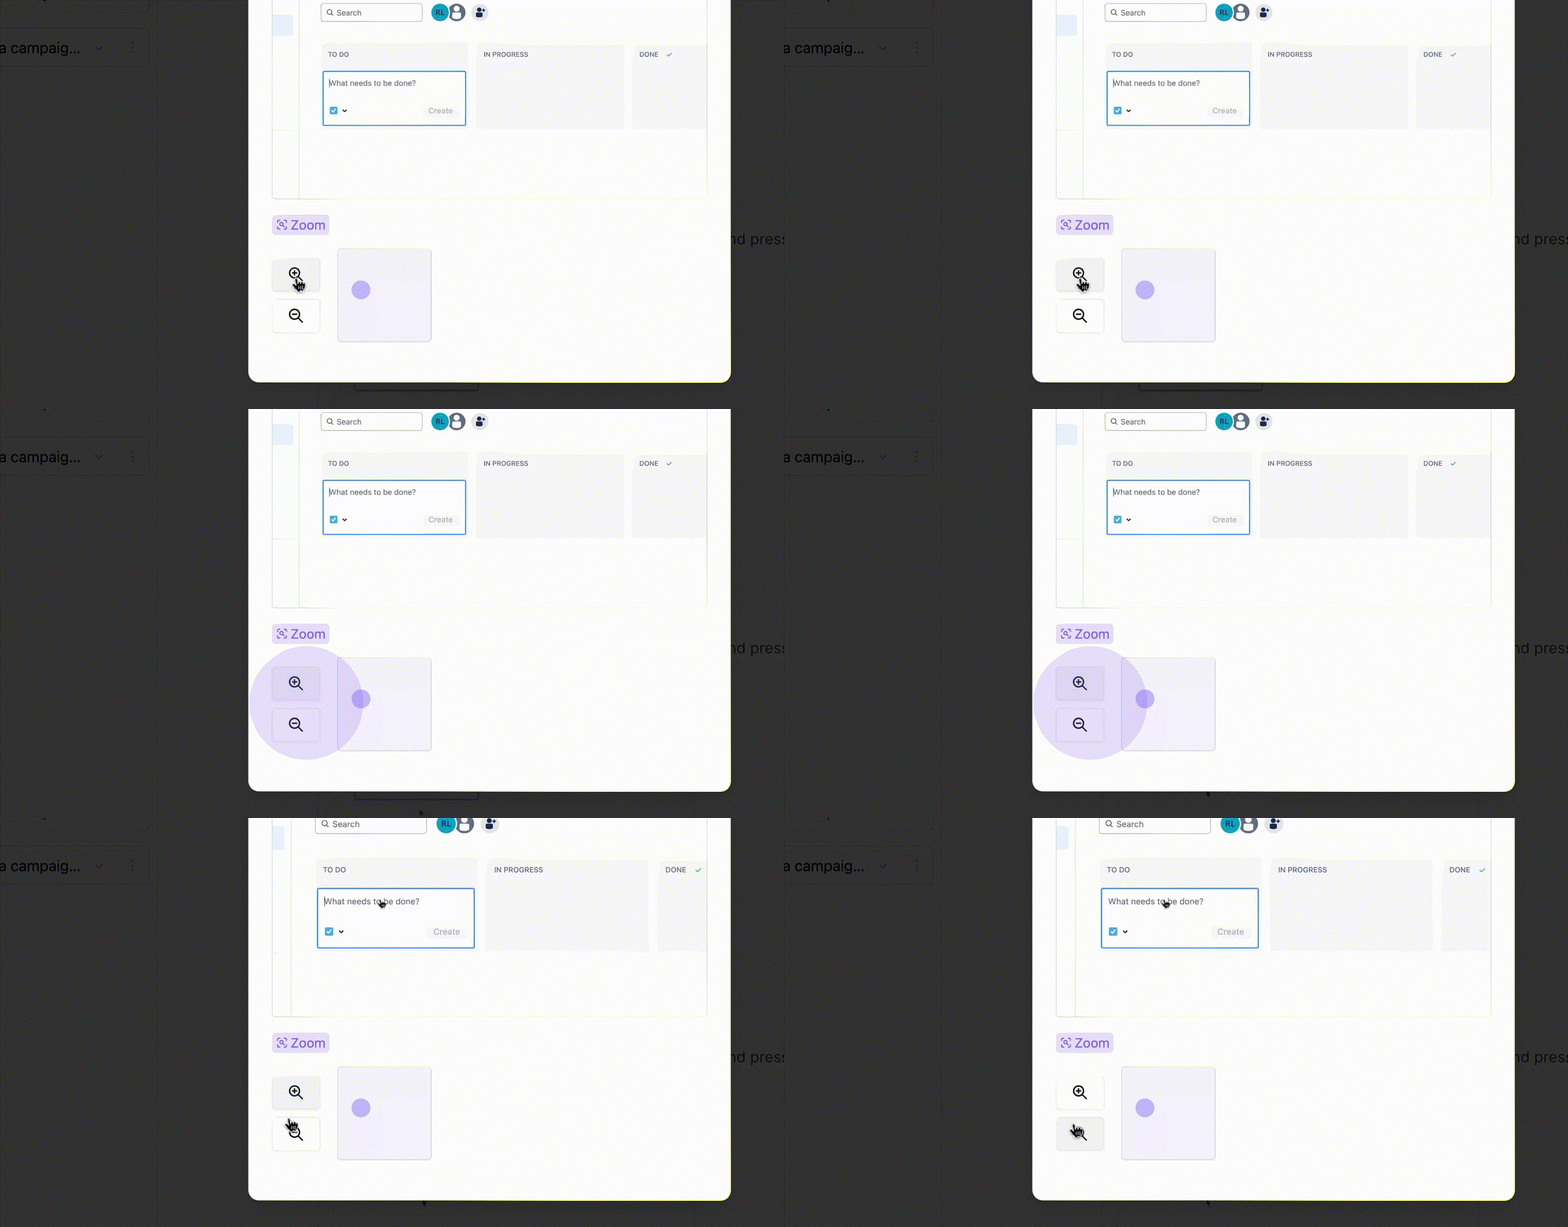
This will open the editing view of the selected snapshot. The first step is to scrub through the video and find the perfect moment by clicking on this button. Additionally, you have the option to adjust the zoom level by using these buttons to increase or decrease it.
3
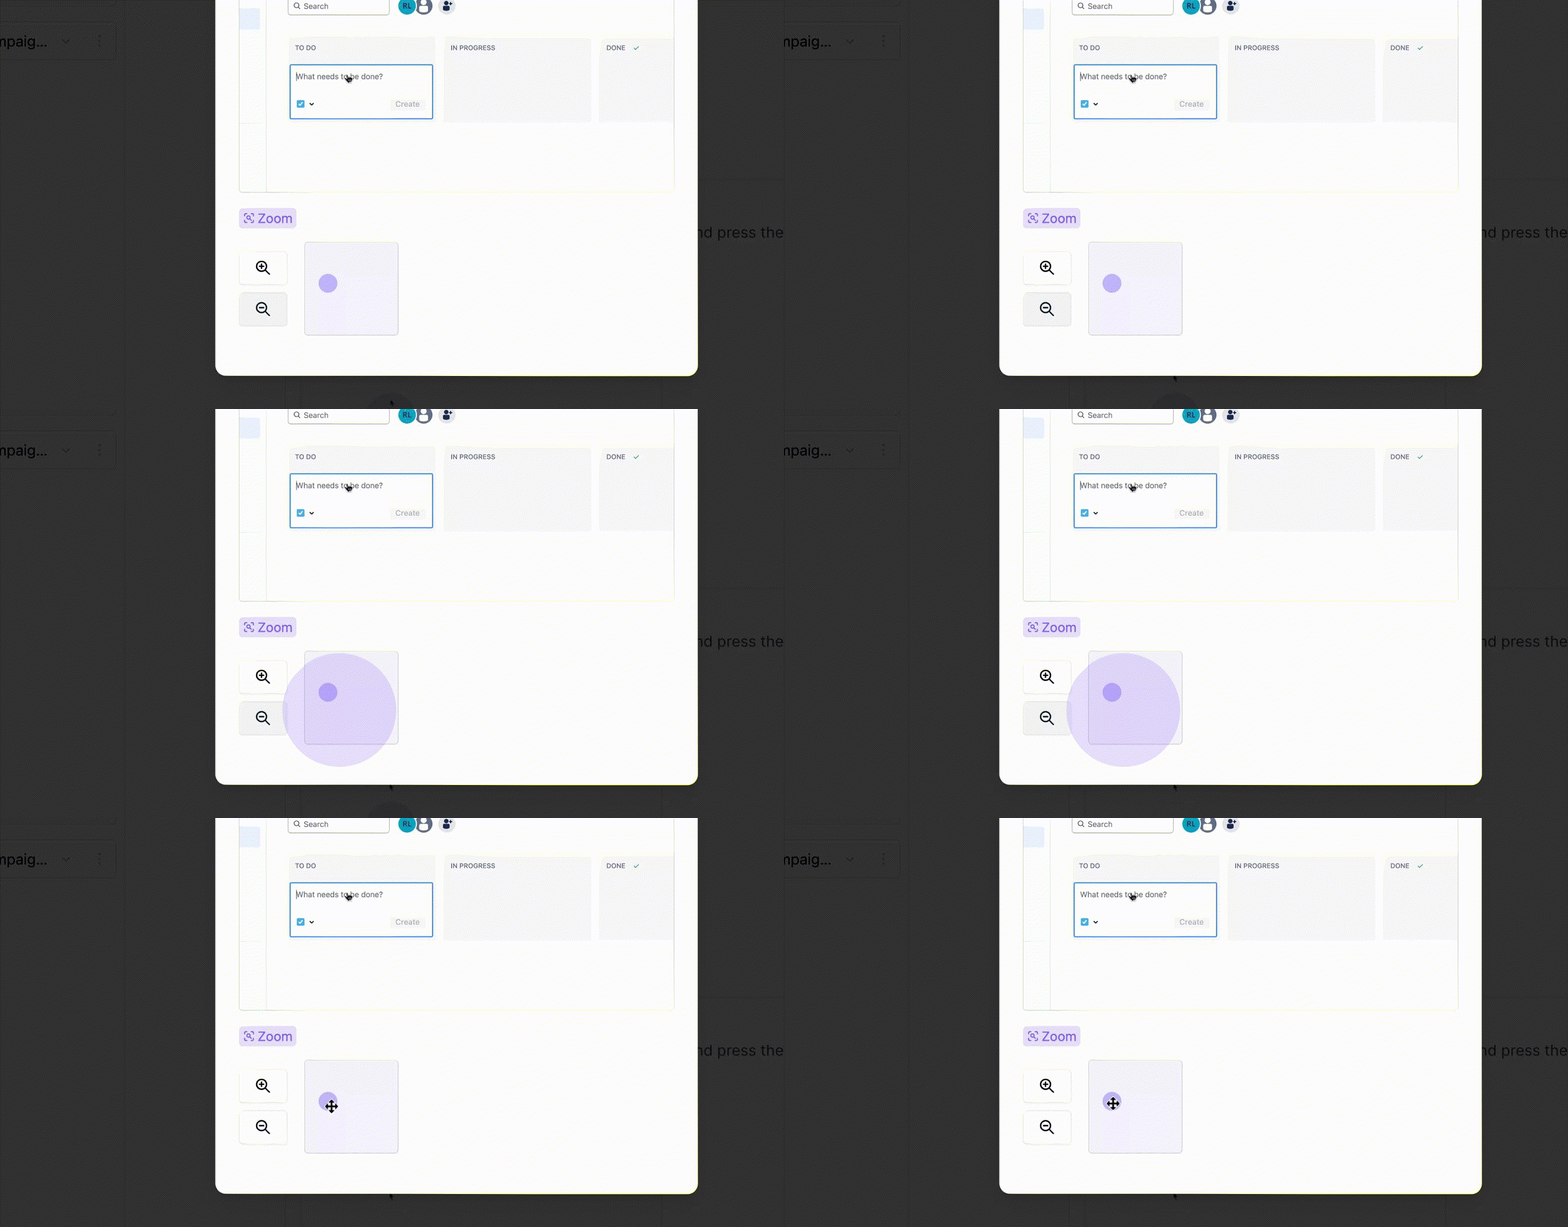
If you wish to highlight a different area or make slight adjustments to the zoomed image, you can easily do so by using the drag feature.
4
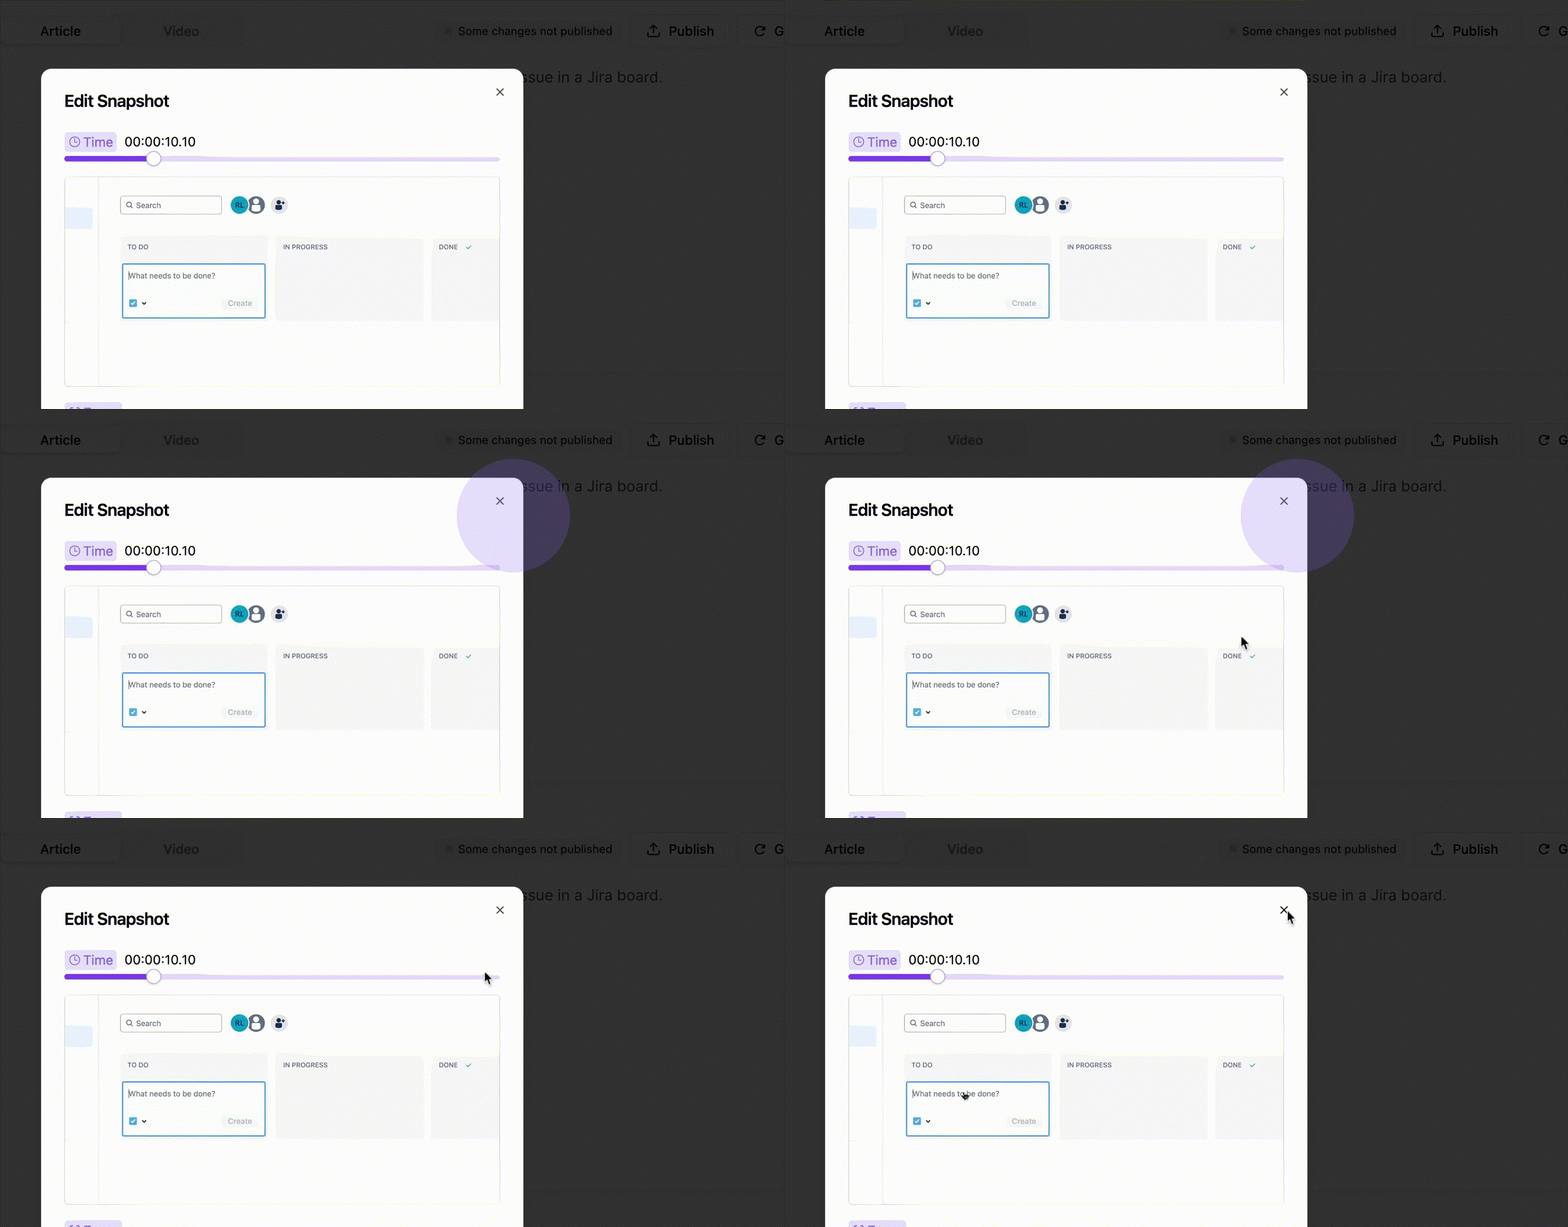
Once you are satisfied with the edits, simply click on the cross button to save your changes.
5
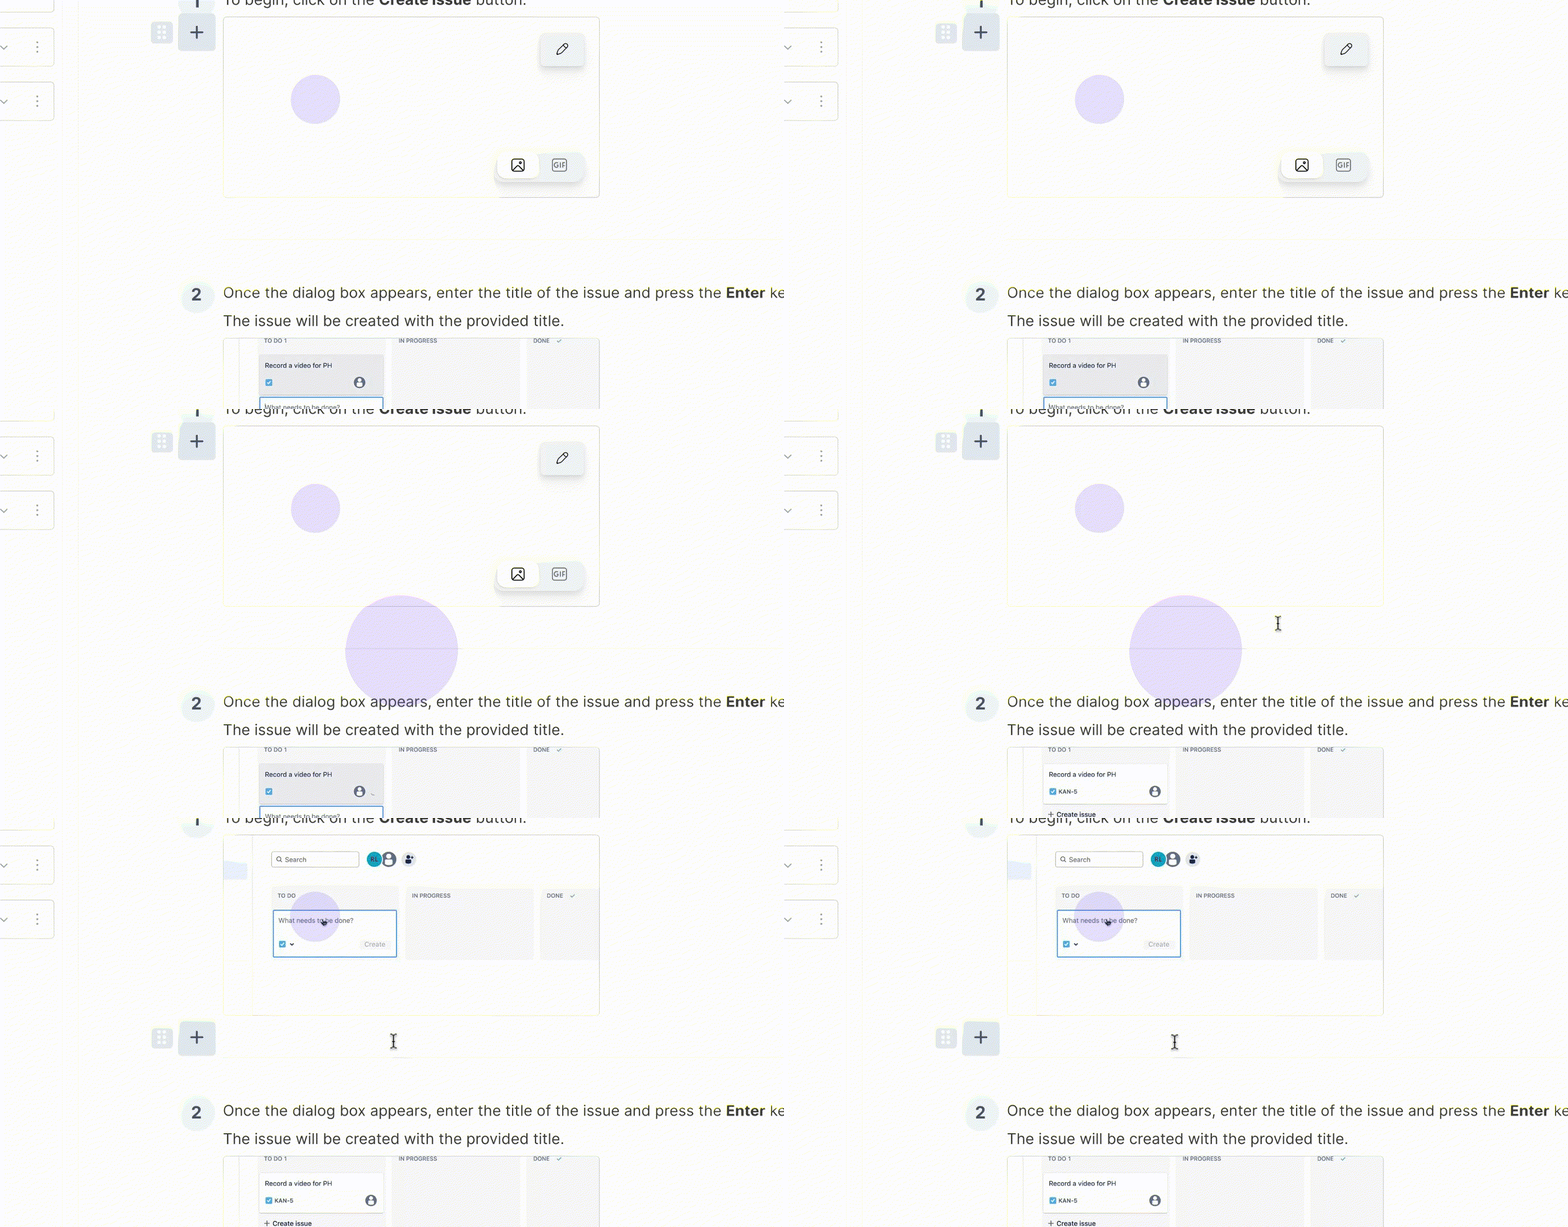
If you want to add another snapshot or include a step that wasn't recorded, just click on the plus icon and add a new step. Once you've added the step, click on the plus icon again to add another snapshot.
6
The same editing process can be applied to this new snapshot, allowing you to add multiple snapshots to your article.
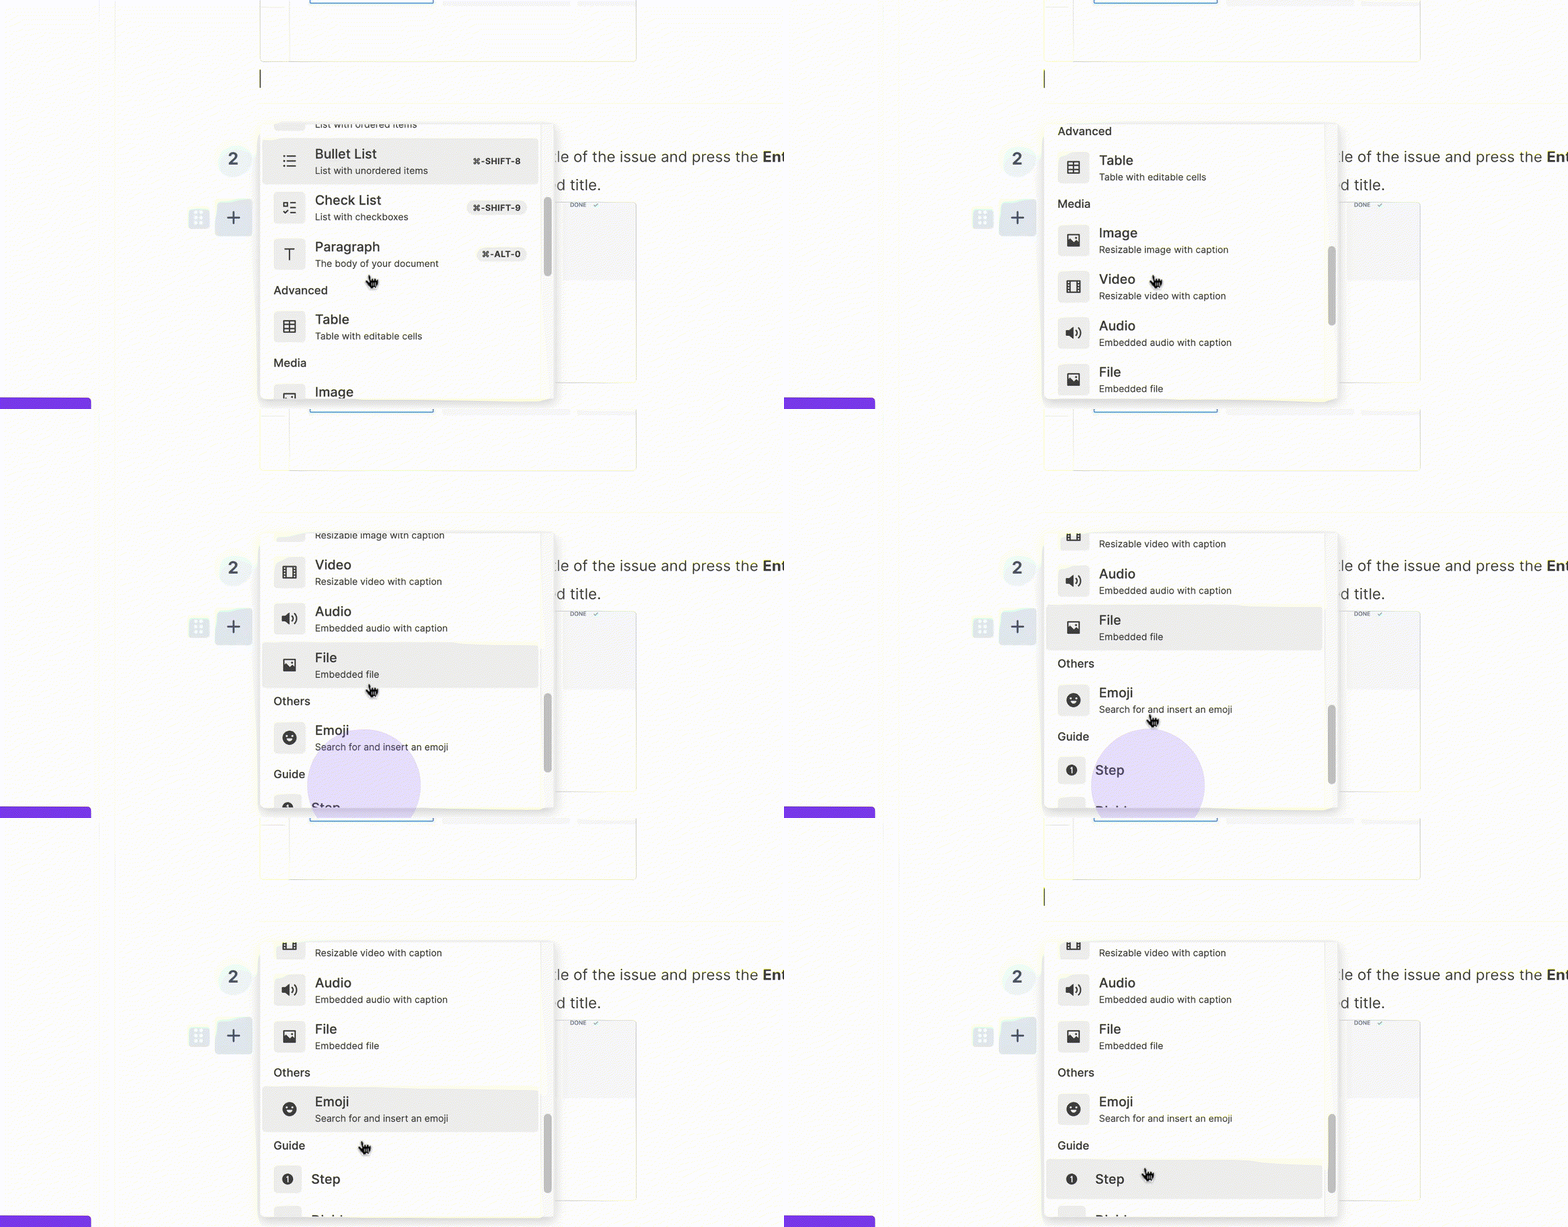
This editor provides you with a wide range of options to create and customize your article. Thank you for watching!
