Adding a Custom Domain in Your Knowledge Base
This tutorial will walk you through the process of adding a custom domain to your knowledge base.
Updated 1 month ago
This tutorial will walk you through the process of adding a custom domain to your knowledge base.
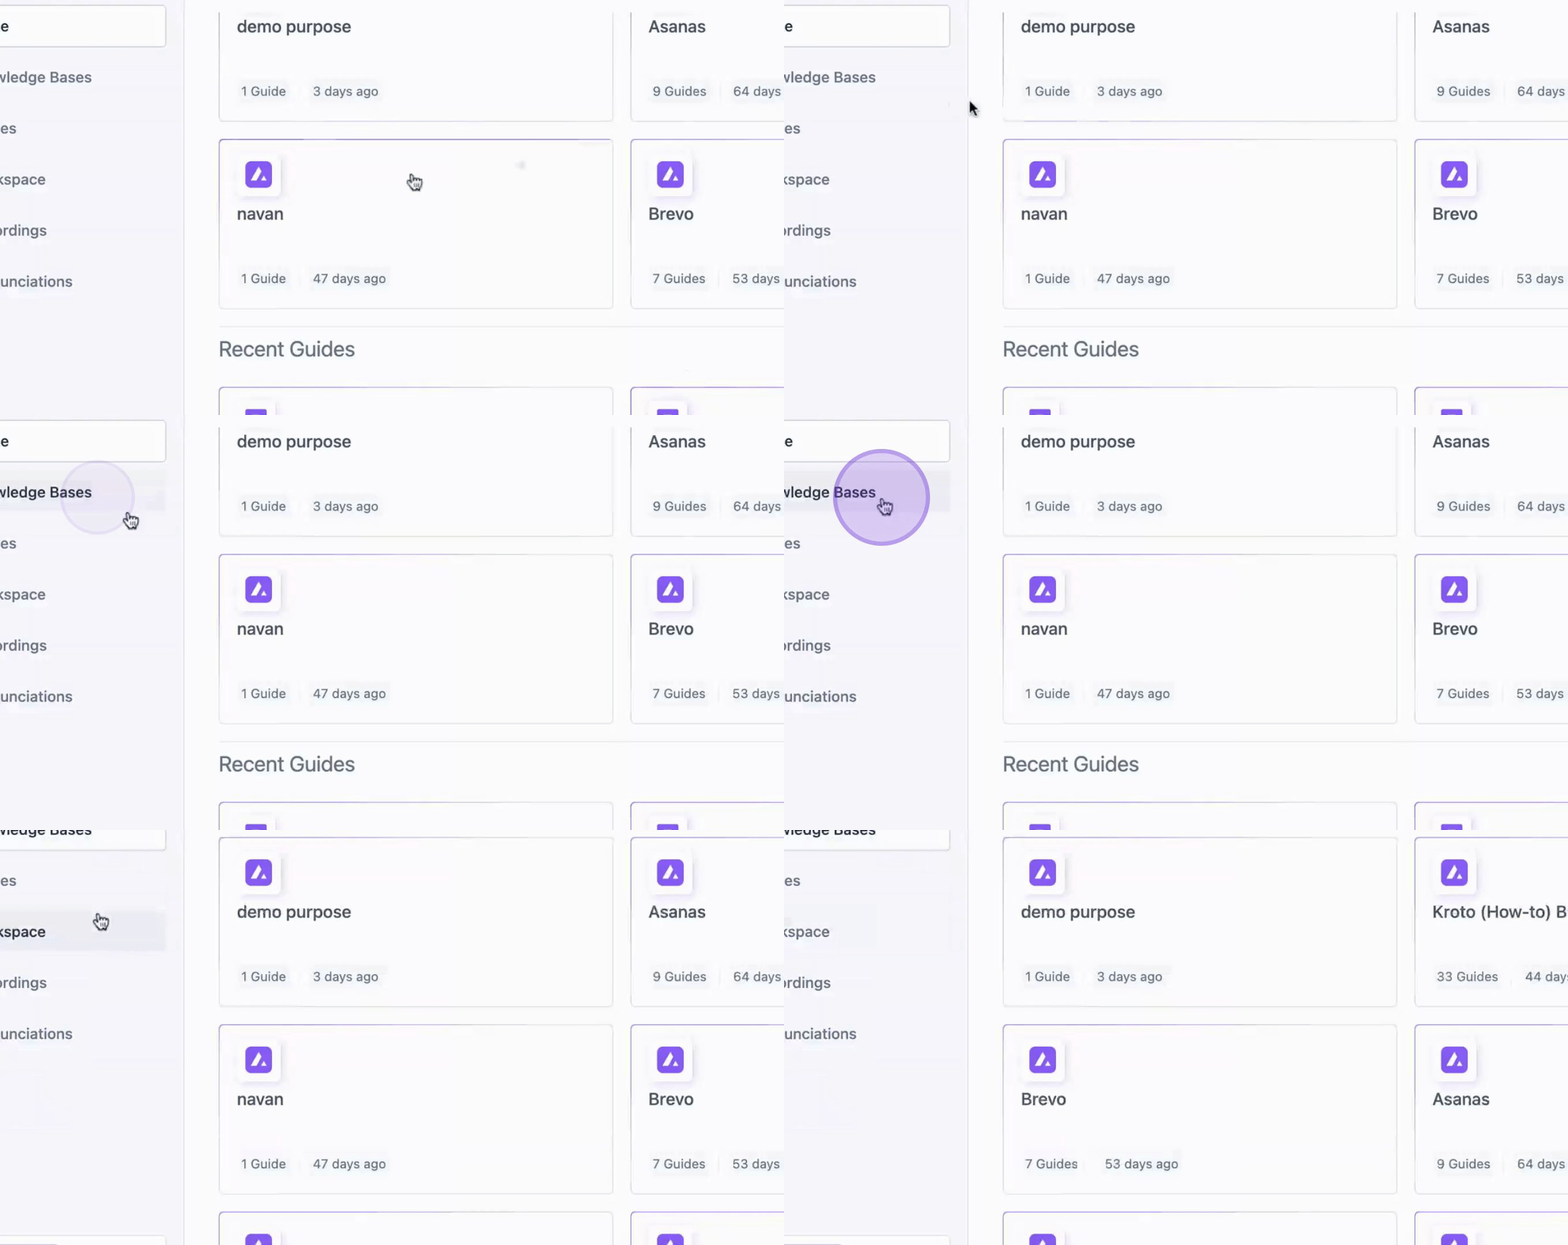
Begin by navigating to the Knowledge Base section.
From there, select the knowledge base that you wish to add a custom domain to.

Next, click on the Settings icon for the selected knowledge base.
Here, you will find an option for Custom Domain.

Click on the Custom Domain option, and enter the desired domain name in the provided field.

Once you have entered the domain name, click on Save to apply the changes.

Your custom domain will be added to the knowledge base as soon as your DNS provider approves the domain.
By following these steps, you will successfully add a custom domain to your knowledge base.
